


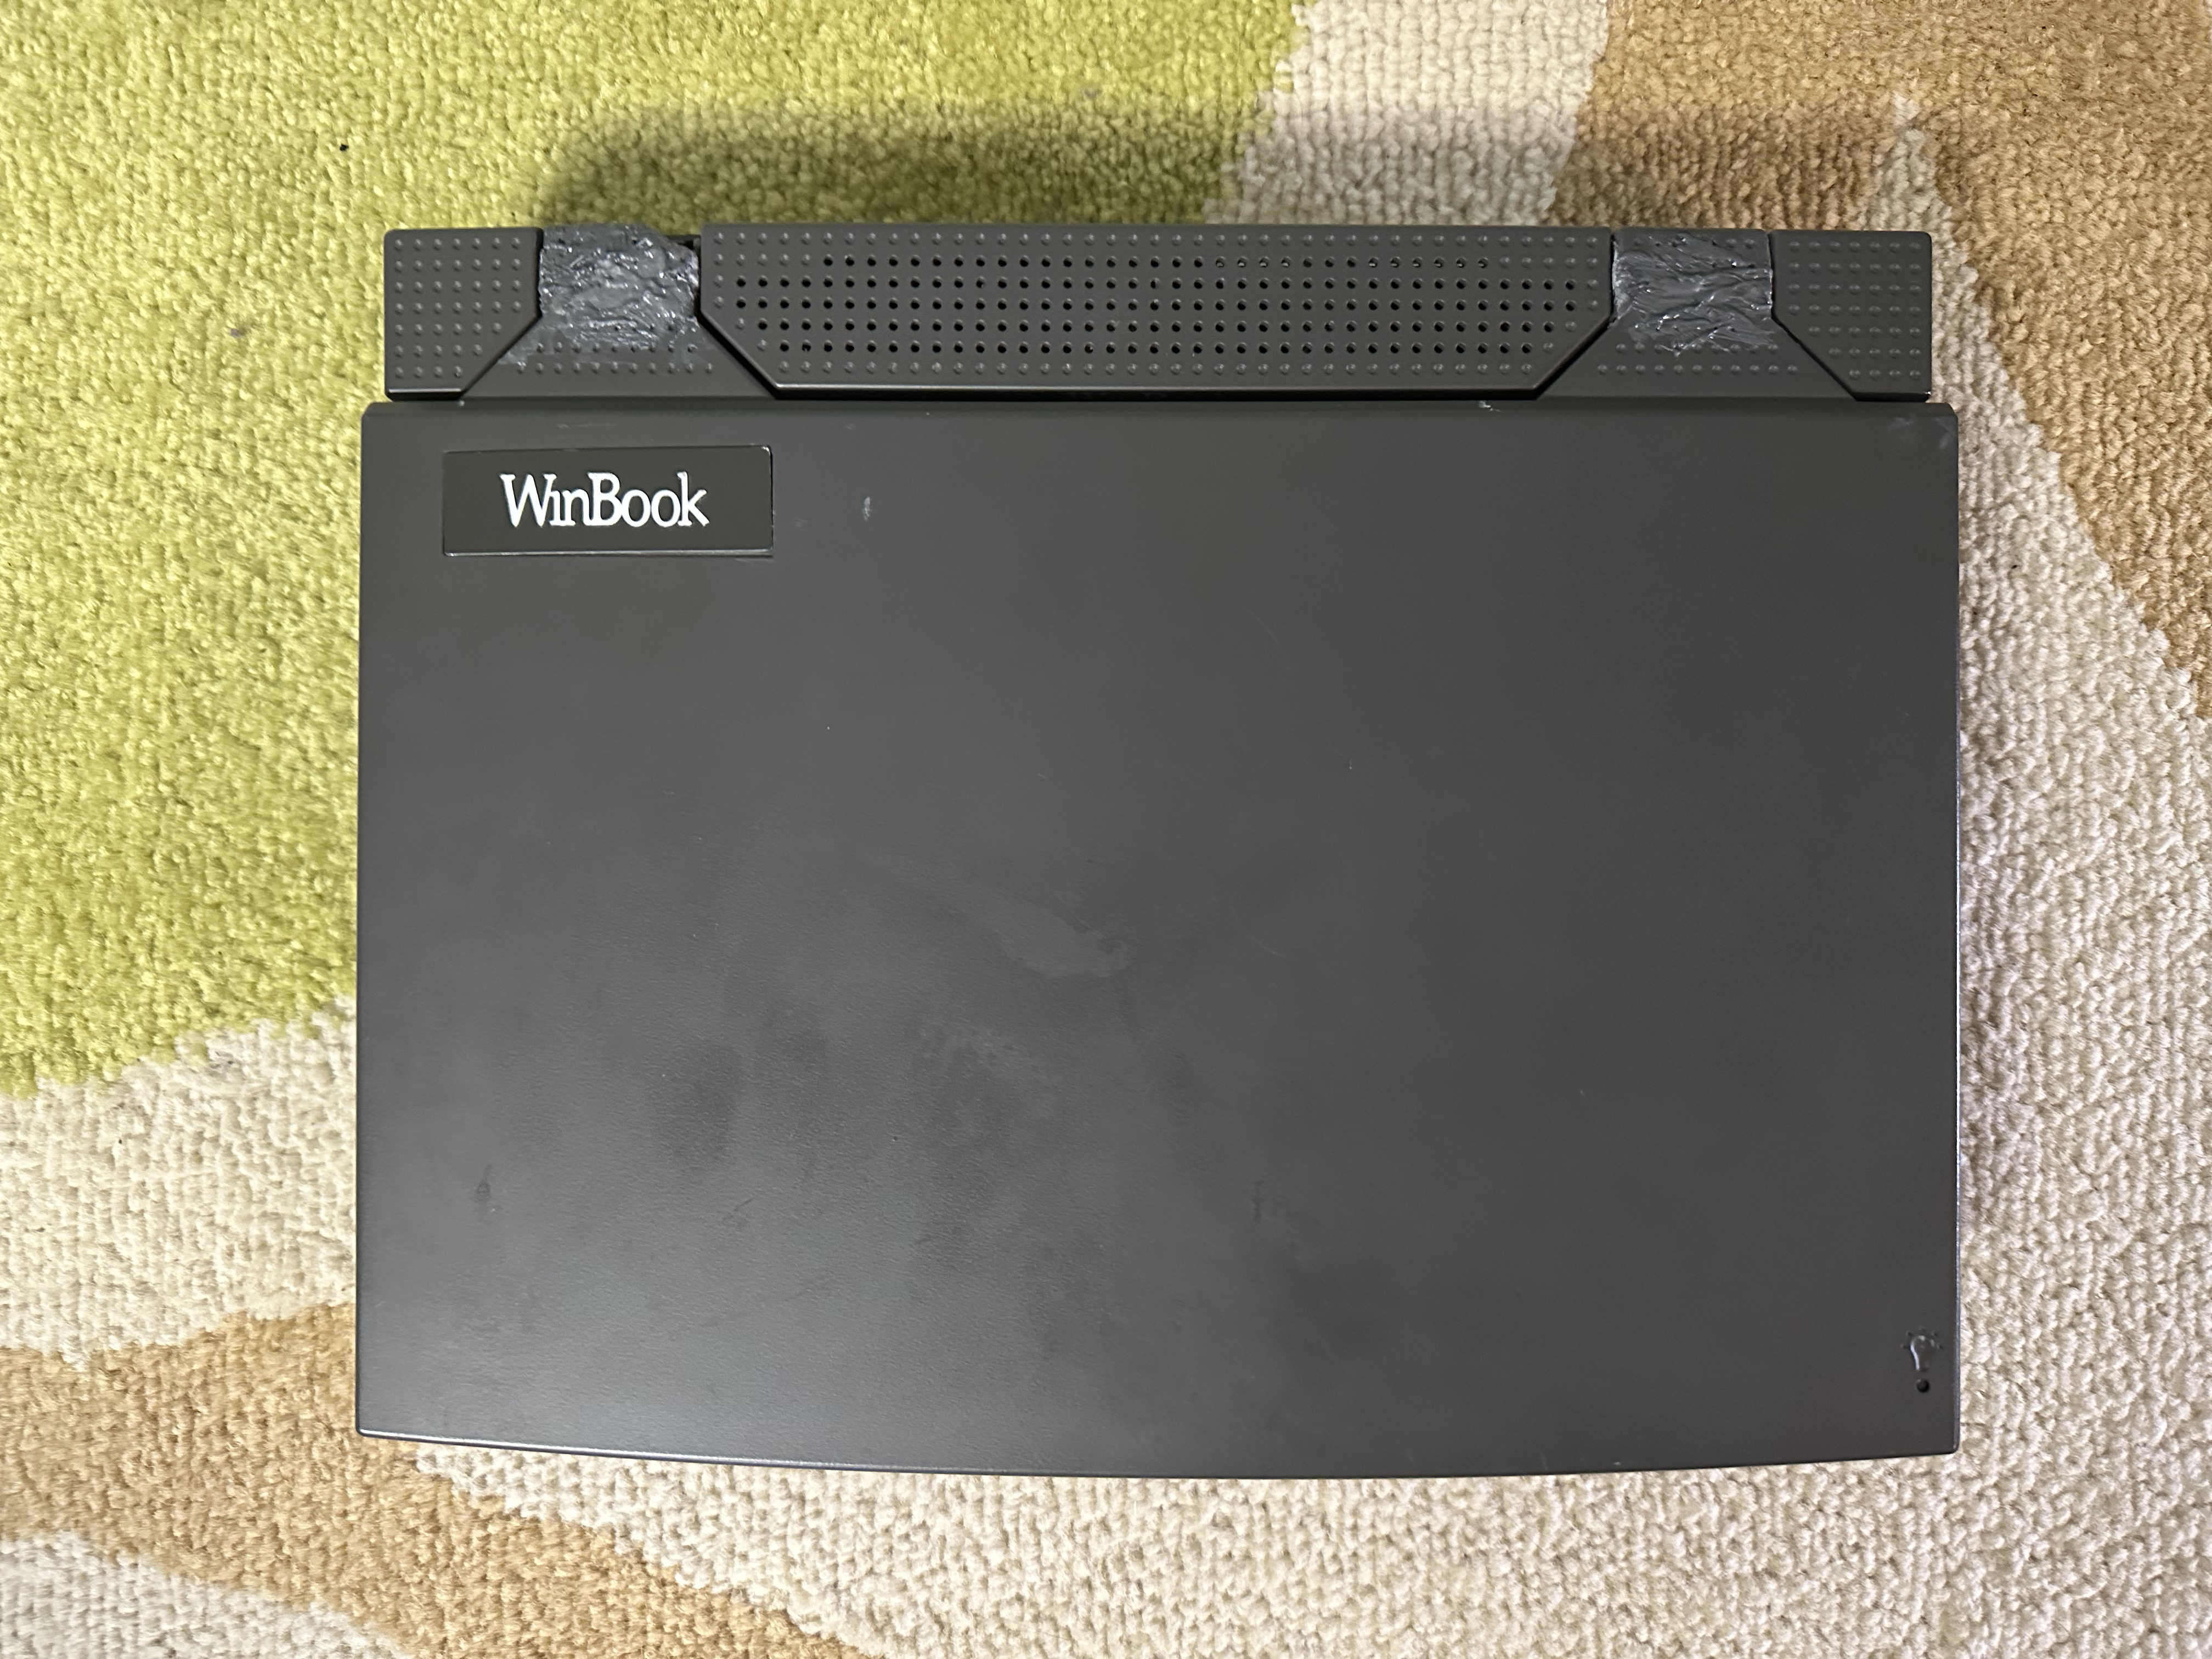
Compared to some other laptop models I've seen, these WinBook models have held up pretty well electronic wise, all things considered. Still, I've run into trouble in a few areas - specifically with the display hinges, keyboards, floppy drives, and the DC power modules.
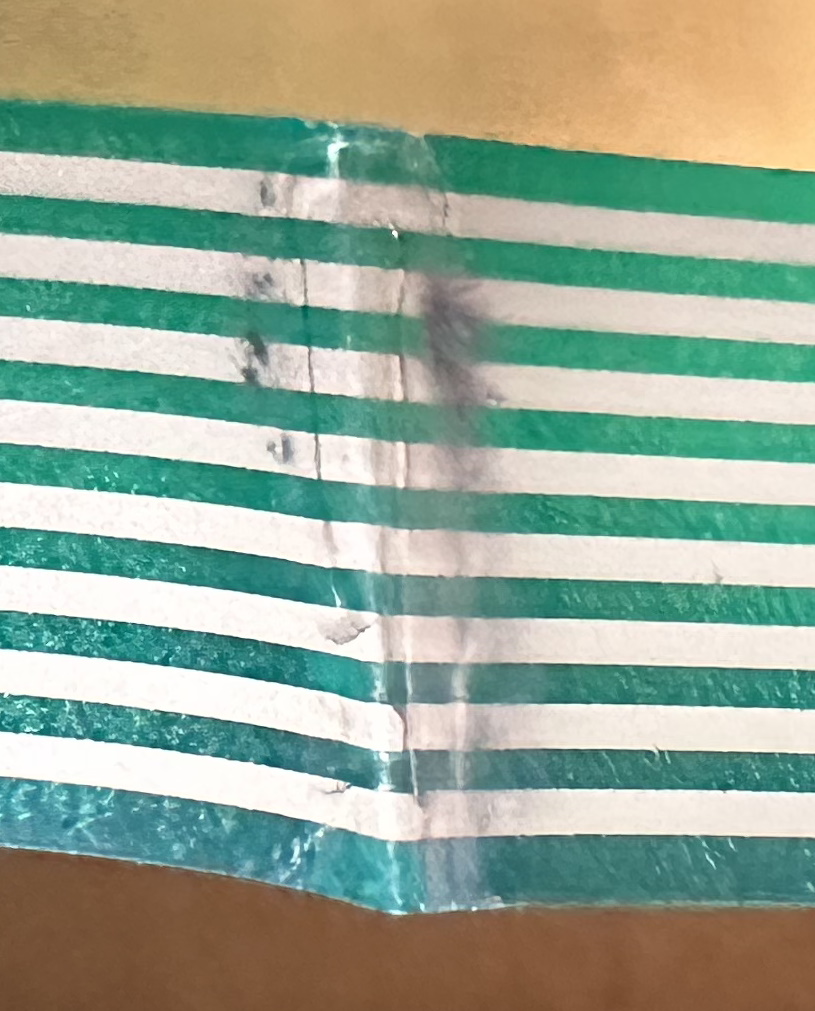
If you didn't already know - ABS plastic manufactured during the 1990s has become extremely brittle with age over time. The WinBook is no exception to this, and the main area of concern, as with most laptops, is the display hinge region. Laptop manufacturers in the 1990s didn't put much thought into hinge strength - and this model is again, no exception. Mainly, the hinges mount to the display housing with two small plastic standoffs, which are prone to cracking due to age in most models that used this approach. Still, WinBook, or Jetta really, made a bigger mistake, that being that the standoffs are placed extremely low down in the housing, right at the bottom. This causes stress cracks to appear just above them, long before the standoffs themselves will have a chance to break. What this will eventually lead to is the cracks cracking all the way, and breaking off the rest of the housing, which is a big problem as one may imagine.
This issue is inevitable, no amount of care in opening and closing the hinges will prevent it. My 486SLC-25 model arrived with no sign of any cracks. Within 10 hinge actuations, the right side broke off entirely, and the left side began to crack. Both sides have since broke on it. And no, it isn't an issue with the metal hinges themselves being stiff. They were actually quite the opposite, moving very smoothly and easily.
Fortunately, you can fix this problem (for a while at least). Unfortunately, the fix is quite ugly. Your only option is to use some sort of epoxy to mend the cracked parts back together. You'll need quite a lot of it to create strength in the area, as the plastic has lost all of its own with age. I haven't fixed my SLC unit yet, but I had to do the same repair to my C2SX-25C, for which I used a LOT of JB Weld. Here's an explanation of my process:
After completing the process, the hinge works again, and the plastic hasn't broken so far after around 10 open/close cycles. I will update this page in the future after I see how it holds up to long-term use. The fix is horribly ugly, but it's the only way short of completely re-creating the part from scratch, which isn't financially viable.
Before & After Images (click to view full-size):

One last note on hinge plastic cracking - a user on the 68kMLA forums posted a photo of his 486SLC, which had also cracked at the base around where the hinge mounts. Fixing that should go by roughly the same steps as the steps for the display.
This is more a warning more than anything else - the keyboard ribbon cables are very fragile on these! In the process of opening my 486SLC unit up, unbeknownst to me, I caused some micro-fractures inside of one of the two ribbon cables coming out of the keyboard, which caused multiple rows of keys to stop working. This is a bit of an issue, as one key that no longer works is F1, which is required to boot past the BIOS. And as noted on the main page on these, the PS/2 port does not work with external keyboards, so I literally cannot boot the system, despite it working otherwise.
The fractures are caused due to the cable being bent in one spot for 30 years, then unbent when you go to open the system. To prevent this from happening, do not unbend the creased cable if possible when disconnecting the keyboard. You'll have to flex it a little bit, but avoid it as much as possible, or you'll get the micro-fractures in the conductive tracks, and the keyboard will no longer work. I managed to take apart my C2SX-25C without causing this same damage.
So, what if this did happen, or if you suspect someone else caused it in the past. Well, I have an idea for a fix, which was given to me by twolazy from the VCF forums. The method that they have used is to use steel wool to remove the top coating from the damaged area in order to gain access to the inner conductive tracks. Then, a very careful application of conductive glue would be used to repair the breaks. I am planning to attempt this fix, but am currently waiting for the glue to arrive. I'll update this page with a more detailed writeup after my attempt.
If you read the spec sheet on the main page, you may have noticed that the main battery for these is a NiMH pack, and that the CMOS battery uses NiCad chemistry. Both packs are prone to leaking. The battery cover that clips onto the laptop case can be removed from the battery, so best bet for preventing a leak from the main battery it to remove the cover and just install that on the side of the laptop to plug the hole. For the CMOS battery, it luckily isn't placed directly onto any of the internal circuit boards, so you won't run into as much damage as many other systems that used this battery type, but it does absolutely need to be removed. Both CMOS batteries from my WinBooks were starting to leak. Both my WinBooks were missing their main batteries and were corrosion free, but one did come with the cover, which is how I know it's removable, or maybe not attached to the battery at all? Not sure. Below is a diagram of the internal layout of the WinBook, ignoring the keyboard and trackball assembly, which are attached to the top case (click for full size):
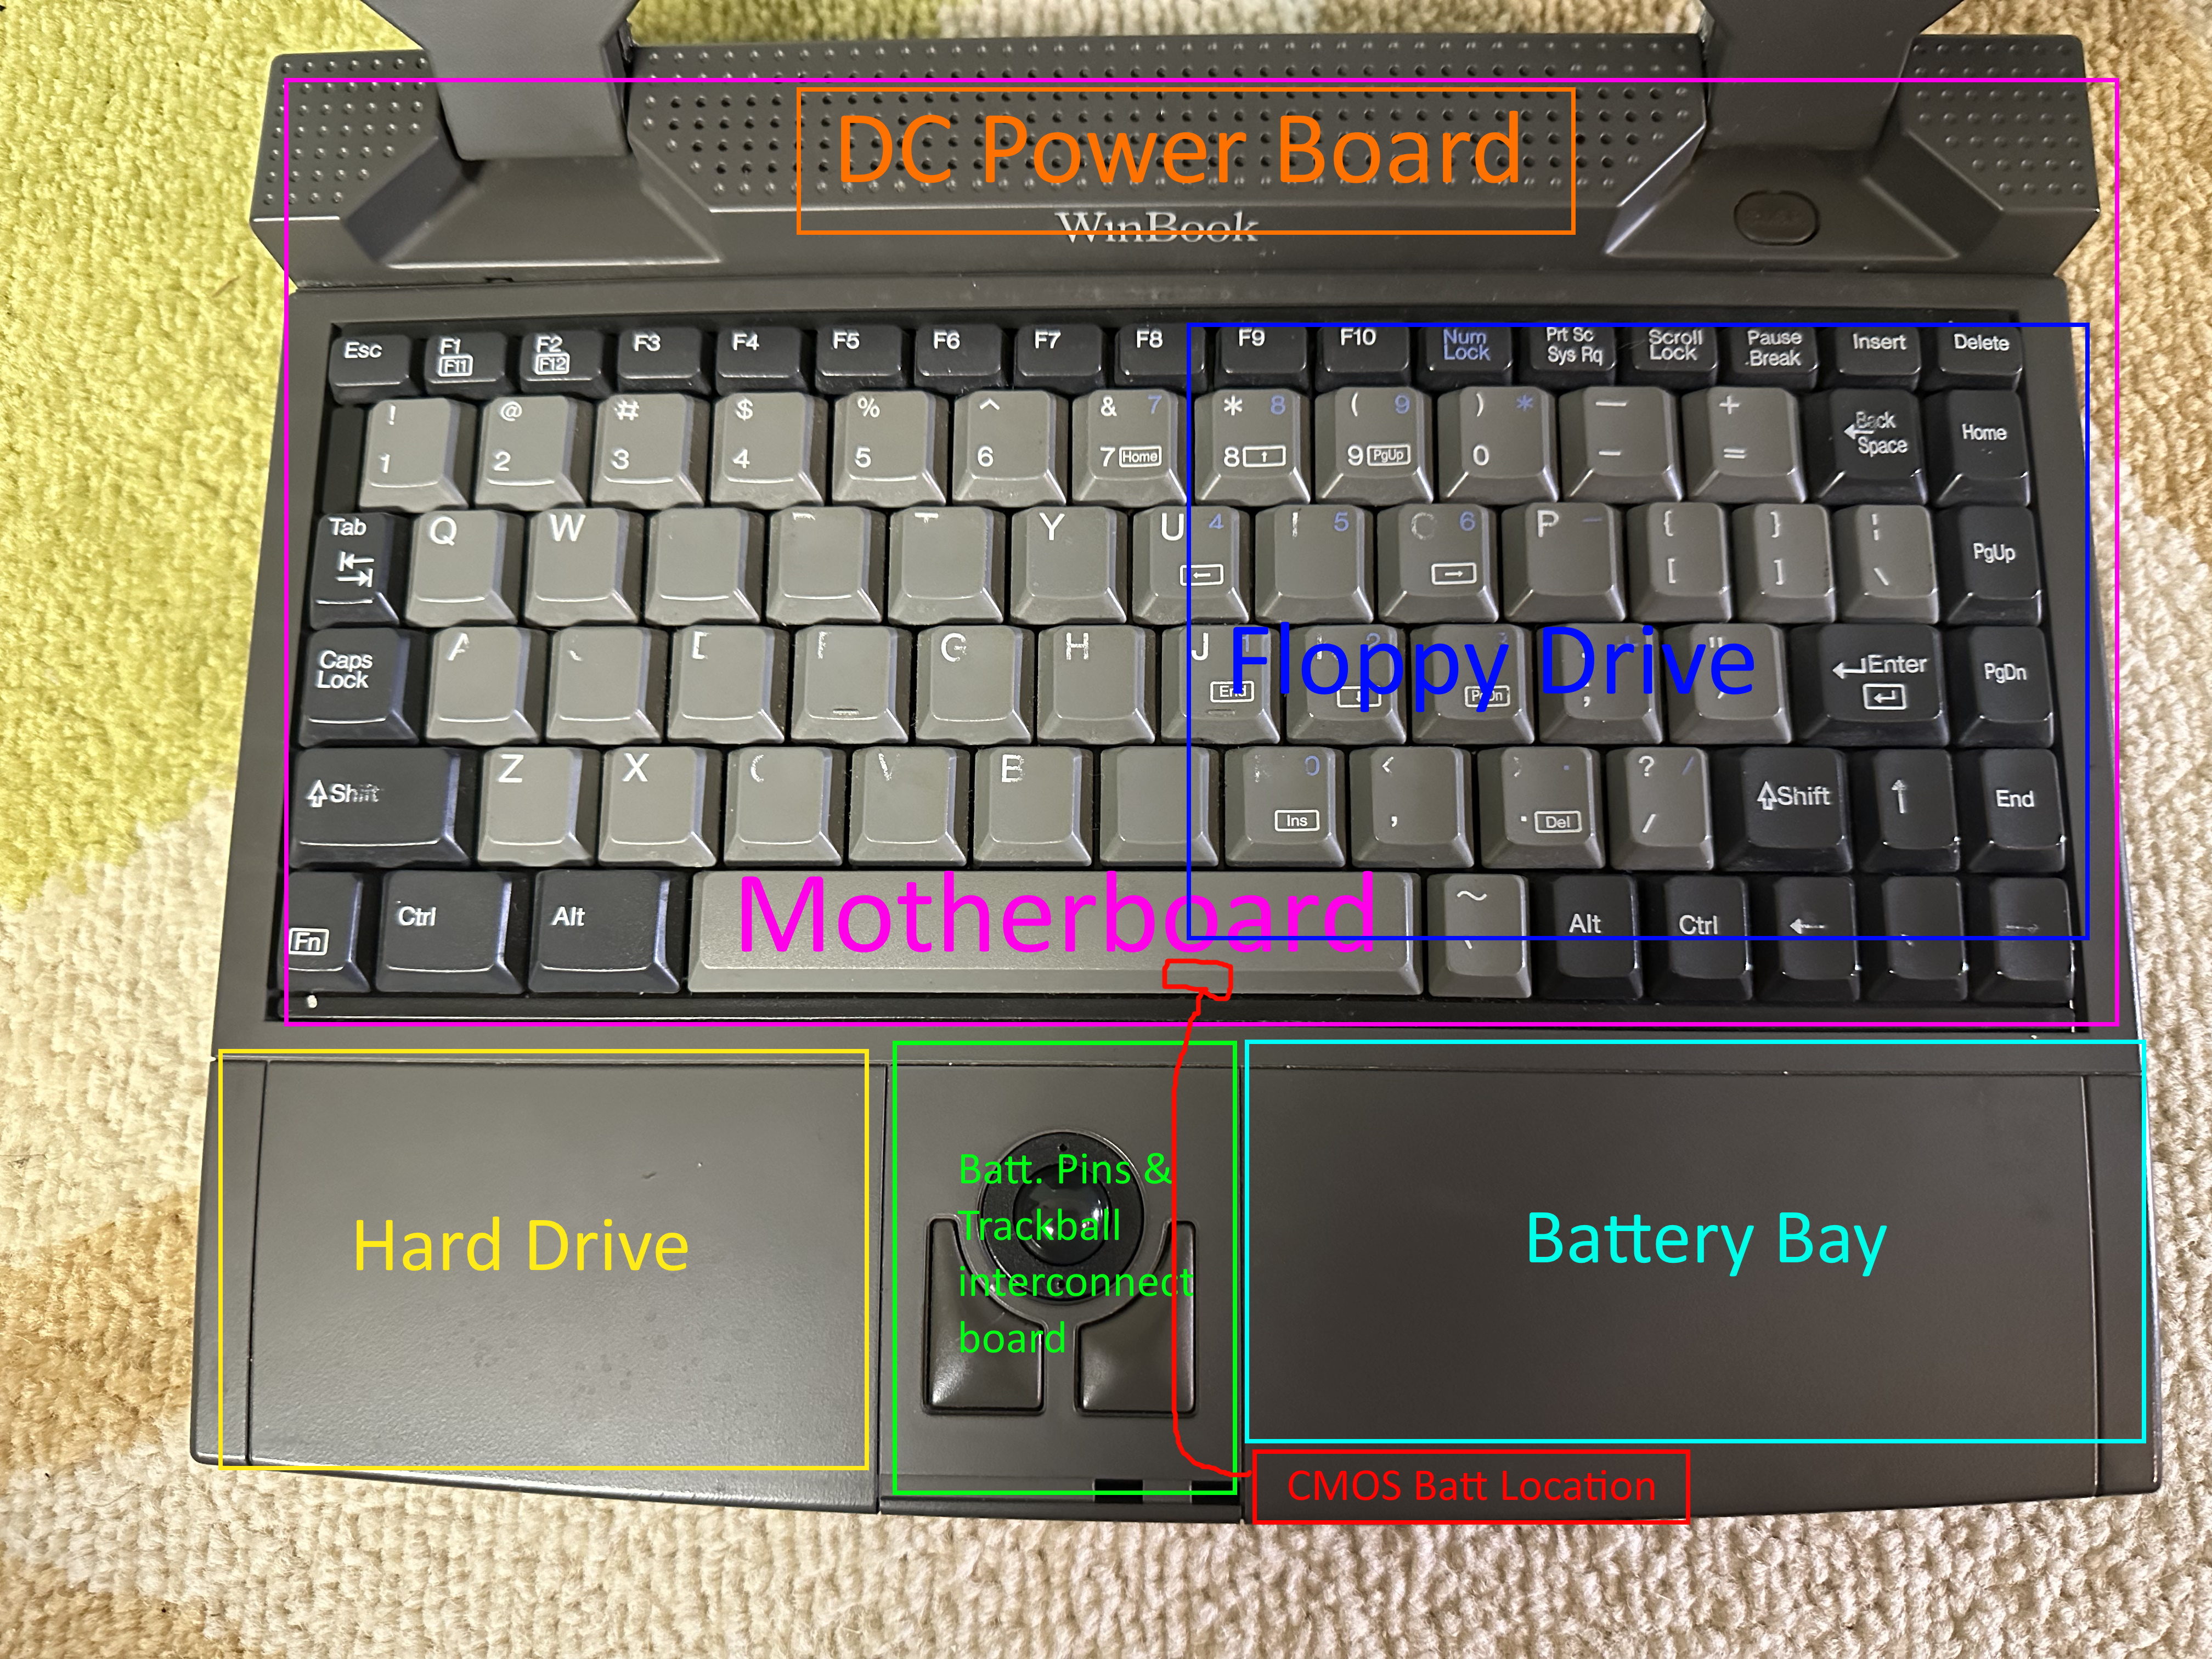
The red line represents the cable for the CMOS battery, which goes under the battery/interconnect board and plugs directly into the motherboard.
Good news - you won't find a single surface mount cap across the entire system! You aren't fully in the clear though - there are several through-hole electolytic capacitors on the DC Power Board. Coincidentally, the 486SLC-25 model happens to have an issue where it won't warm boot after running for a few minutes. It will stay on for as long as I want it to, but then when I go to shut it off, if it's been on for more than a few minutes, it will power on, spin up the hard drive, then show no display and it fails to POST beep. I haven't yet recapped the DC power board, but weak old caps there is my main suspect. As for the display assembly, the grayscale models have no electrolytic caps on the LCD at all, and the color model only has through hole electolytics. Not that those can't fail, but they won't usually leak as bad. I'd still like to replace them in my C2SX-25C soon, and you probably should too if you have one. I'll be sure to upload cap reference info here when I get around to recapping mine.

(The rightmost capacitor is not bulging, it only appears to be in the photo)
The WinBook 486SLC/SX DX Laptops use a slimline 3.5" floppy drive manufactured by Mitsumi. These drives do not normally work anymore, largely due to a drive belt that deteriorates with time. I have not yet found an available replacement, although I will keep working towards finding a replacement.
Home < Laptop Portal < WinBook Home < WinBook SLC/SX DX Home < WinBook 486SLC/SX DX Common Faults and Maintenance