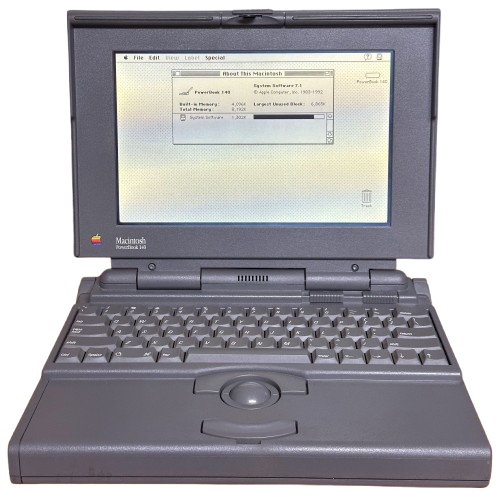
PowerBook 140
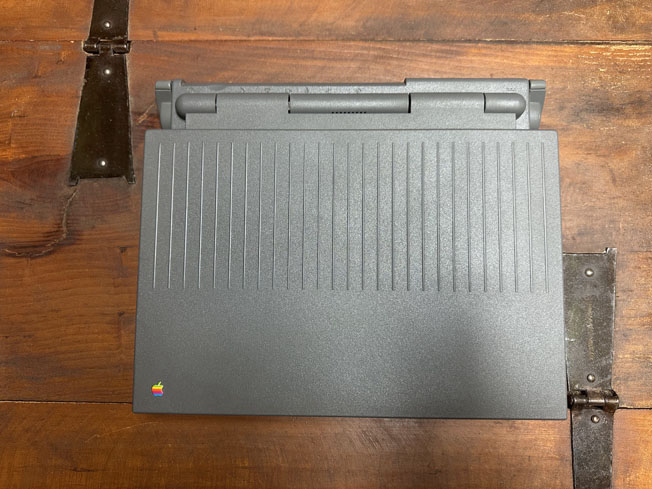
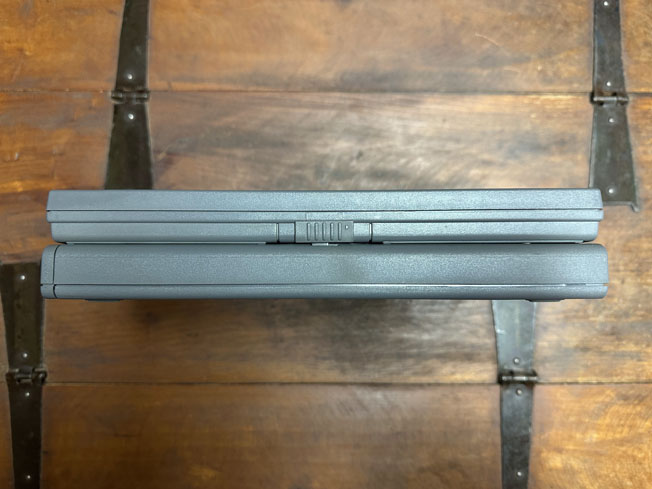
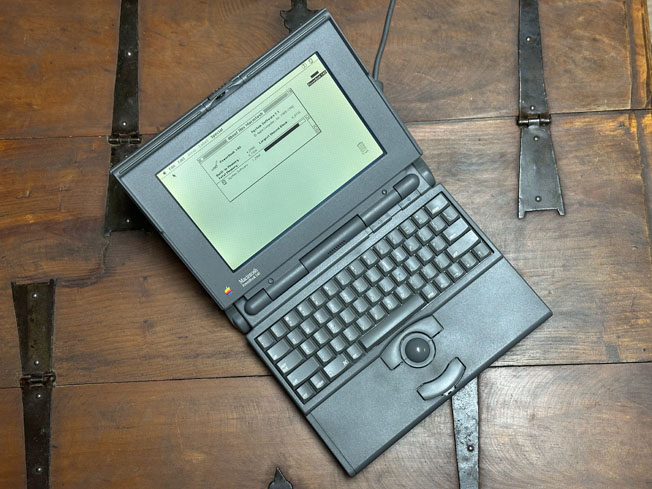
The PowerBook 140 was one of Apple's first 3 PowerBooks. It had a passive-matrix LCD display, a 68030 clocked at 16MHz, and up to 8MB of RAM.
Specifications
| Spec | Details |
|---|---|
| Release Date | October 1991 |
| Discontinuation Date | August 1992 |
| Processor | Motorola 68030 @16MHz |
| Bus Speed | 16MHz |
| RAM | PowerBook 140/145/170 Proprietary (160/180 RAM works w/ some limitations) - 2MB Soldered - 8MB Maximum |
| Hard Disk | 2.5" 40-pin SCSI - 20 or 40MB Standard |
| Display | 9.8" Passive-Matrix Monochrome LCD @640x400 |
| GPU | Unknown |
| Main Battery | NiCad |
| PRAM Battery | Soldered Lithium coin cell |
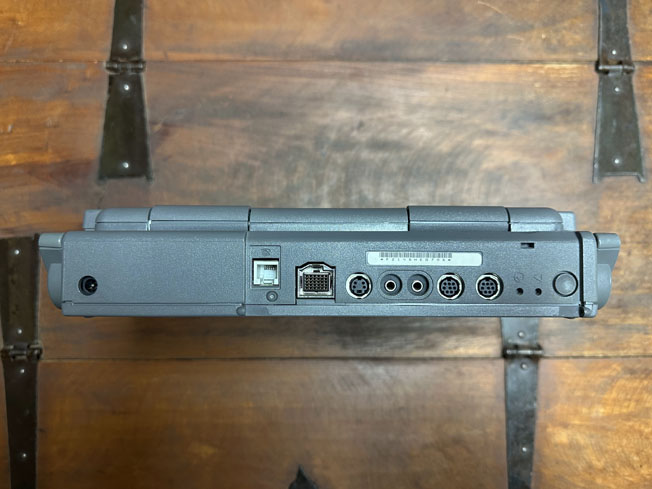
| Power Supply | Barrel Jack - 7.5V 2A - Apple M5651 |
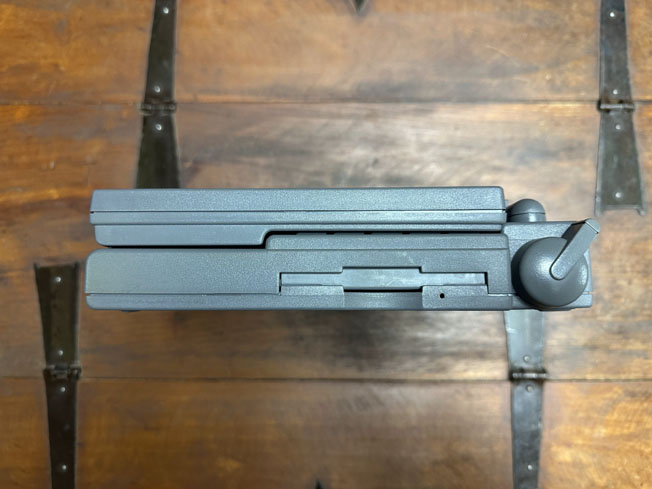
| Disk Drives | 3.5" 1.44MB Floppy Drive (Sony) |
| PC Cards | None |
| Networking | Optional Modem |
| Other I/O | - 2x Serial - 1x ADB - 1x HDI-30 SCSI - 1x Line Out - 1x Mic In |
| Pointing Device | Trackball |
| Minimum Mac OS | System Software 7.0.1 (officially, can run modified System 6.0.8) |
| Maximum Mac OS | Mac OS 7.5.5 |
Upgrades
SSD Upgrade
See our page on SCSI SSDs for more info.
Resources
 Service Manual |
Capacitor Reference |
|---|
Common Faults & Maintenance
The PowerBook 140, like other 100 series laptops, suffers from many different issues.
Brittle Plastic
ABS plastic on just about anything made in the 1990s has become very brittle with age, and this includes the PowerBook 140. The most frequent place on the 140 where you'll see this issue is with the screw mounts for the screen hinges. These mounts will break and crumble away with use, and lead to further plastic damage if the hinges are used in this state. A tell-tale sign of this issue is a gap in the plastic on the back near the hinges. If you see a gap, you've got broken standoffs. In addition, the screw mounts for the drive cages, and really just about every one in the system commonly stress crack with age.
Hinge Fixing
Multiple methods can be used to prevent and fix these weak screw mounts. The one I'd recommend the most is to replace the old brittle mounts with new 3D-printed ones. These new mounts include a large plastic plate that mounts behind the LCD, in order to allow extra area for the part to be glued to, and to relieve stress from the mounts themselves. These parts when applied correctly are very strong and last a long time. A link to the STL files for the new parts is available on the resources page.
Another method of repair if you don't have access to a 3D printer is epoxy. Lots of epoxy. This method works best if the original mounts are still intact, as otherwise they can be very difficult to reassemble. The idea is that you put a bunch of plastics epoxy around all of the mounts, in order to prevent them from breaking, and to add extra rigidity to the area. This can work when done right, but I'd still recommend the 3D printing approach if possible.
LCD Failure & Bad Caps
The Passive-Matrix LCDs used in the PowerBook 140 almost never work anymore unless you've already done repair work to them. Most commonly, you'll see a blank blue screen and no image. This condition is caused when the LCD's backlight is on, but the pixels aren't receiving any signal. This can be caused by the computer not outputting a signal, or the LCD's ribbon cable being broken, but by far the most common cause of this failure is bad capacitors on the LCD panel themselves. These LCDs use the same surface-mount electrolytic caps that Mac logic boards from the time do, and they do indeed fail and leak. Replacing the caps is a must-do.
Capacitor Reference info for this model is linked in the resources section.
I replaced the caps, the LCD cable is intact, but I still get no picture, or my LCD has big blocks of bad pixels. Why?
Unfortunately, at this point, many of the caps have just been left to rot too long. If they've leaked bad enough, there's a chance that the internal ribbons in the LCD have been corroded. These soldered ribbons go from the LCD's controller board with the caps on it to the glass panel itself. Each one has an embedded controller IC on it. Once the cap juice corrodes them out, the LCD panel is unfortunately junk and you won't be able to fix it. By far though, many, many panels still exist that this hasn't happened to yet. Don't let this info dissuade you from recapping yours. I myself have yet to run into an LCD this has happened to, it's still fairly rare, but will get more common every year.
Other LCD Failures
Beyond caps and their associated effects, these old LCDs are also prone to developing Vinegar Syndrome, and can suffer from LCD Rot/dead pixel patches as well depending on how poorly they were stored.
Hard Drive Failure & Repair
As with any computer this old, it's more common to see a dead hard drive in one of them than one that works. Especially so in the 140, as the hard drives these used are prone to getting stuck heads due to an internal rubber bumper that becomes sticky with time. Conner and Quantum drives are affected by this, and Conner hard drives were the most common ones you'd find in a 140. Luckily, the Conner drives can be pretty easily fixed if you open them up and tape over the bumper. I'd look up a YouTube video on how to do this if I were you. Provided nothing else is wrong with the drive, it will come back to life if you tape over the bumper.
Otherwise, these PowerBooks used SCSI 2.5" drives, which are pretty tough to find nowadays. If you do have a dead drive, I'd recommend replacing it with a modern solid state solution instead of paying silly money for spinning rust off eBay. Multiple options are available, and more info is available here.
Battery Leaks
The main battery for the 100 series PowerBooks is NiCad based, so they leak pretty frequently. Don't leave an intact one in your laptop, and make sure to check any unit you get your hands on for one. Usually the logic board only ends up damage in the event of a pretty severe leak luckily. Also, if the battery has shorted (which is pretty common), the laptop won't start with it installed. If you have a known-good AC Adapter and your PowerBook is acting dead, there's a good chance that's why.
The PRAM battery in the 140 is a rechargeable Lithium coin cell. These rarely leak. Still probably a good idea to remove it if you get the chance though, but be warned, it is soldered right to the internal interconnect board, so getting it out is a bit of a pain.
Power Supply Failure
The original external PSU for these laptops uses ELNA Long-Life caps inside, which are well known to leak the worst out of just about any brand. They just love to barf their guts out all over the place in anything they're installed on and cause a real mess. They're what's behind the Mac IIsi PSU's awful reputation, and there are a couple of them inside the 100 Series PSU. So yeah, recapping them is pretty much required at this point. Getting one open is a challenge though, as you pretty much have to break it open. A vice and a couple of pencils is the best way I know to do this, and will usually get them to pop without much damage.
If you wouldn't like to bother with any of that, and I can't blame you if you don't, another option is to get an inexpensive replacement off of Amazon or eBay. The voltage and barrel jack requirements for these are so simple that replacements are still available.
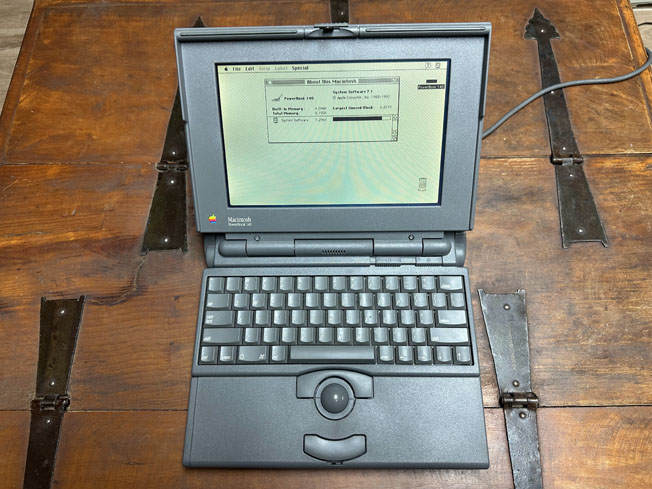
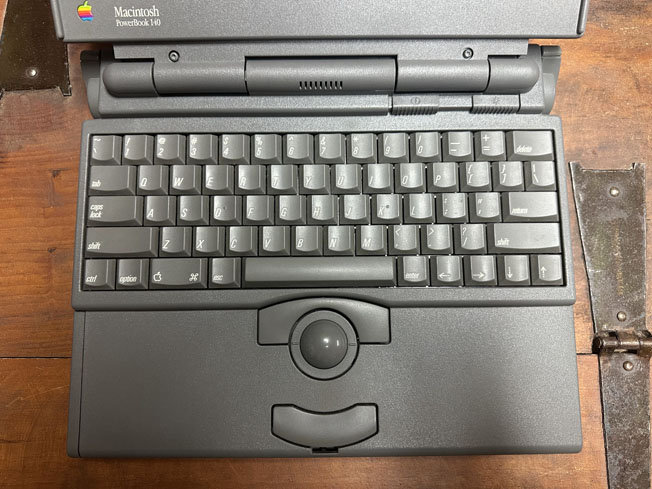
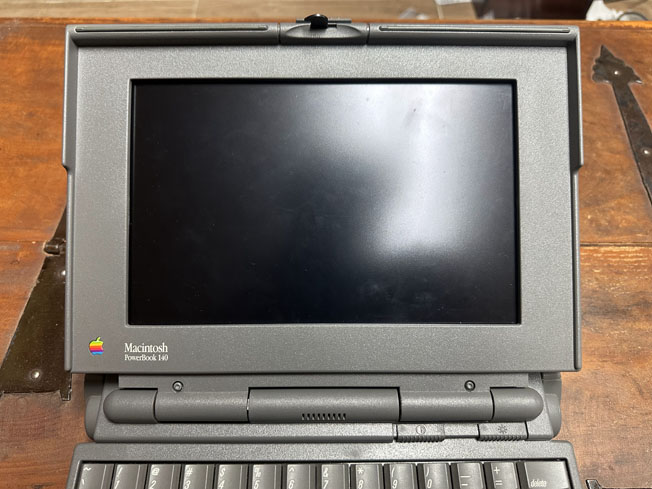
Gallery
Click on an image to view the full-size version.
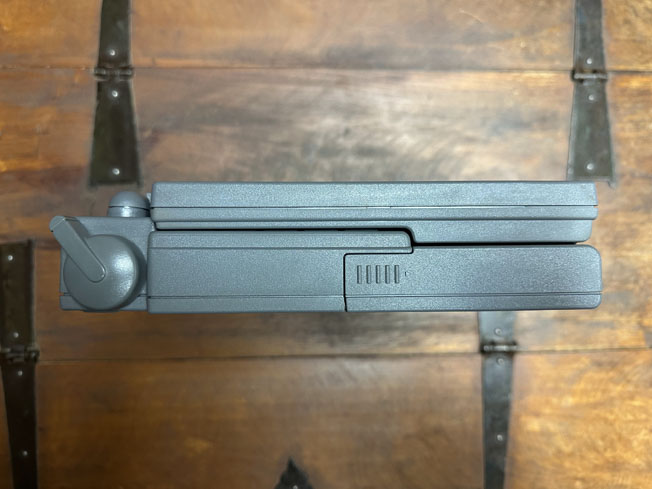
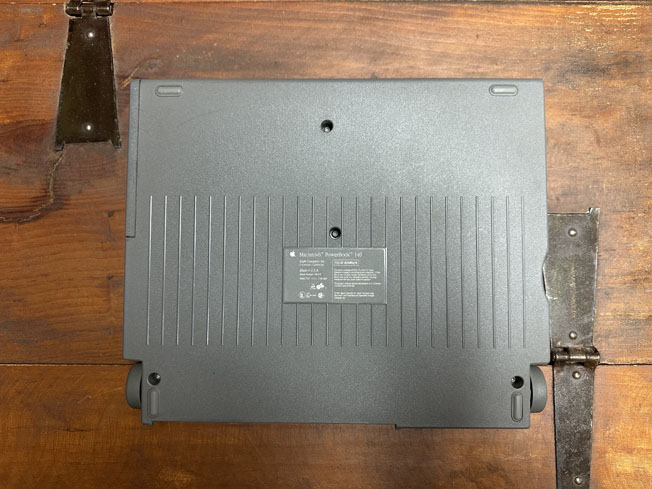
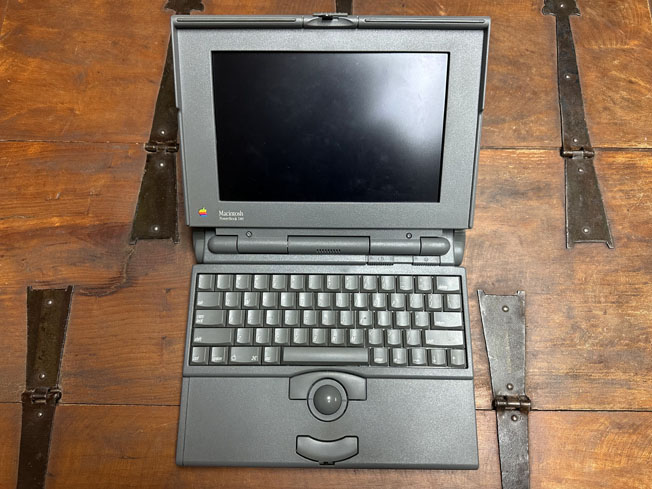
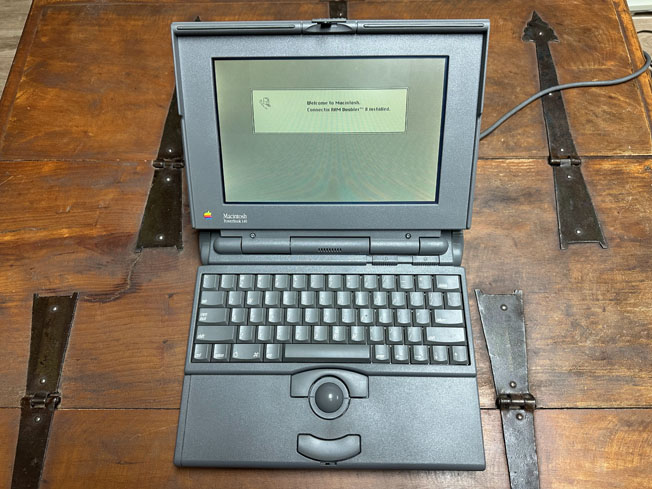
Page last updated (MM/DD/YYYY): 10/12/2024
Update Reason: images added
Back-Navigation
Index < Macintosh Portal < PowerBook < PowerBook 140