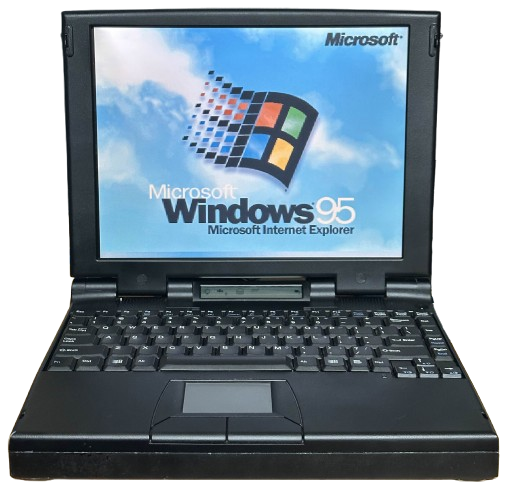
CTX EzBook 700 & 700M Series
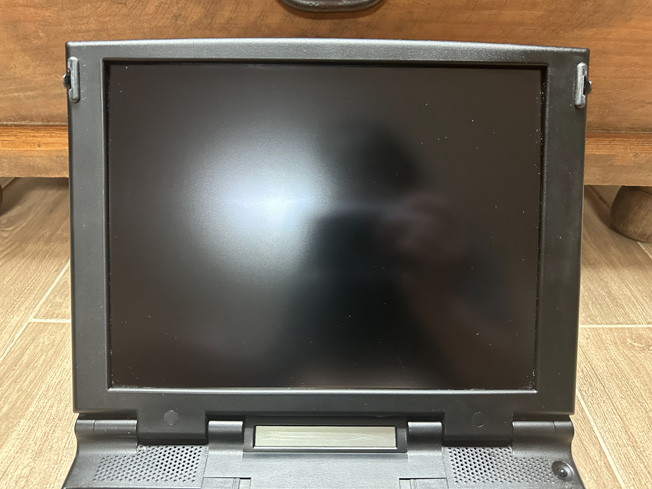
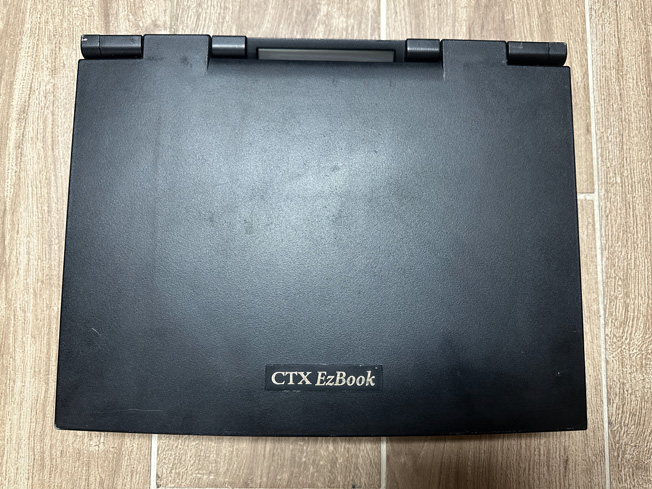
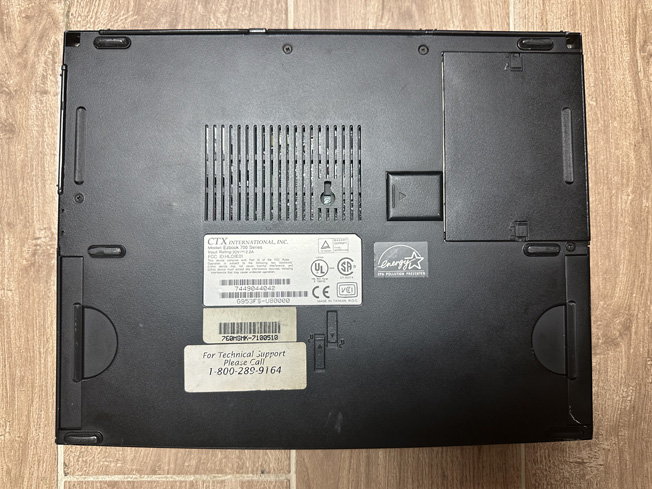
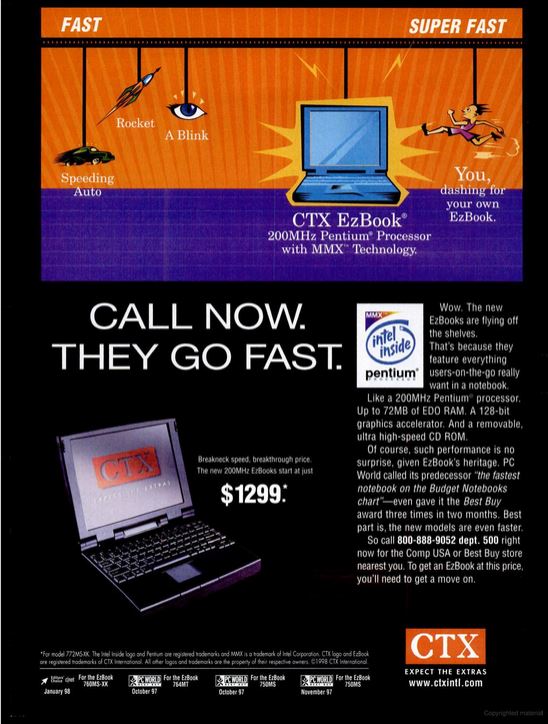
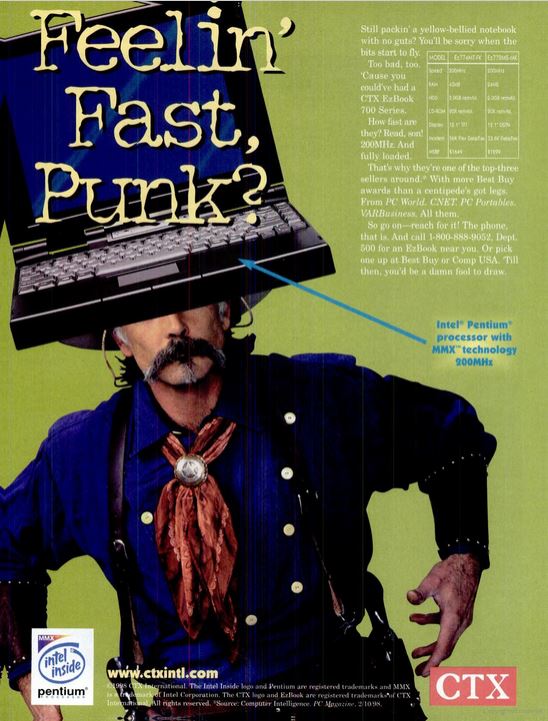
The CTX EzBook 700 Series were a lineup of Pentium laptops, announced in June 1996 and released around August of the same year. In early 1997, the 700 Series was updated with Pentium MMX CPUs. These MMX models were called the "700M" by CTX, but they are still labelled as "EzBook 700 Series" on the bottom.
CTX also referenced a 300 Series on their website. These are the exact same laptops, but were sold to distributors rather than retail. They will still be badged as 700 Series on the bottom, and the difference only matters when looking up your specific model config.
If you have a laptop that looks like this one, but is missing CTX branding and just says "CyberNote" on the bottom, you have one of these.
Model Identification
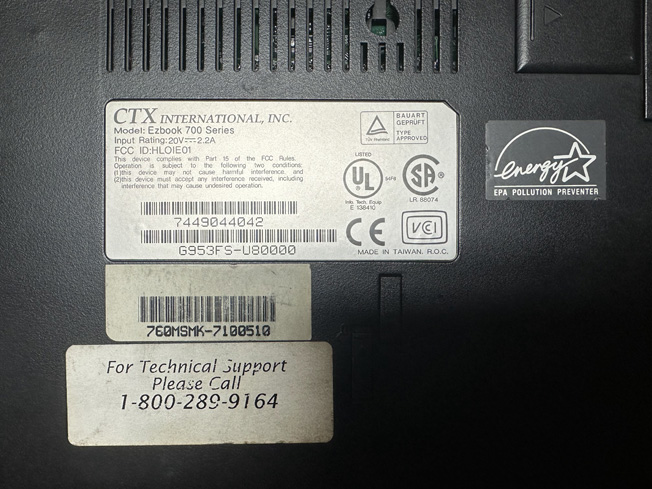
CTX gave each shipping configuration of the 700 and 700M a unique model number, which can be found as the first digits of the serial number (located on the barcode sticker on the bottom). This means that you can identify the specific spec of a laptop via the serial number alone, which can be very useful when checking for sale listings nowadays. For example, if you have a passive matrix unit, and would like to upgrade it to active matrix, it would be useful to know if a beat-up and untested one on eBay has an active matrix panel in it or not.
This is also how you can tell a 700M apart from a 700 without seeing if it has a Pentium MMX CPU in it.
See here for the unique specs of each 700, 700M, and 300 Series EzBook.
Specifications
| Spec | EzBook 700 | EzBook 700M |
|---|---|---|
| CPU | Intel Pentium @120, 133, or 150MHz | Intel Pentium MMX @150, 166, or 200MHz |
| RAM | EDO, it's either 72 or 84pin (not sure) - 8 or 16MB Standard - 40MB Maximum |
EDO, it's either 72 or 84pin (not sure) - 16, 24, 40, or 72MB Standard - 72MB Maximum |
| Hard Disk | 2.5" IDE - 1.0GB Standard - Uses Proprietary Adapter |
2.5" IDE - 1.0, 1.6, or 2.0GB Standard - Uses Proprietary Adapter |
| Display Options | - 12.1" DSTN/Passive Matrix LCD @800x600 - 12.1" TFT/Active Matrix LCD @800x600 |
|
| Graphics Processor | NeoMagic MagicGraph 128ZV (NM2093) - 1.5MB VRAM |
|
| Audio | Creative Labs SoundBlaster Vibra 16S (CT-2505) - Stereo Speakers - Microphone |
|
| Main Battery | NiMH 2800mAh, 33.6W | |
| CMOS Battery | Soldered VL1220 Lithium | |
| Power Supply | Barrel Jack, 20V | |
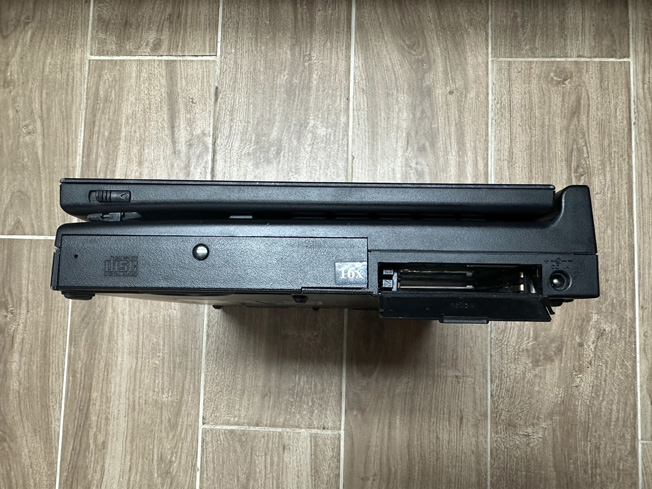
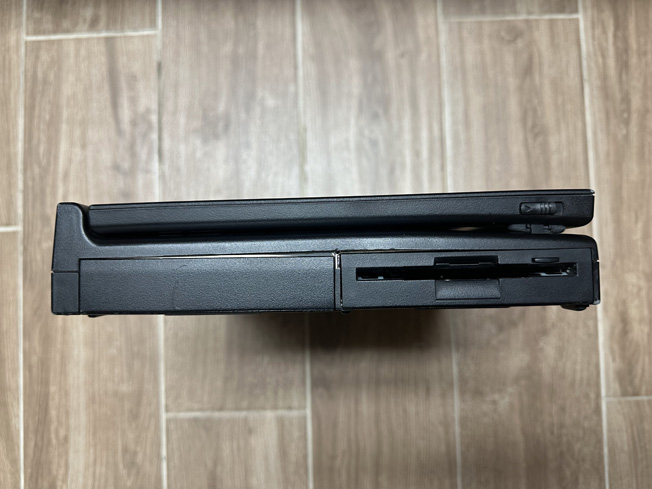
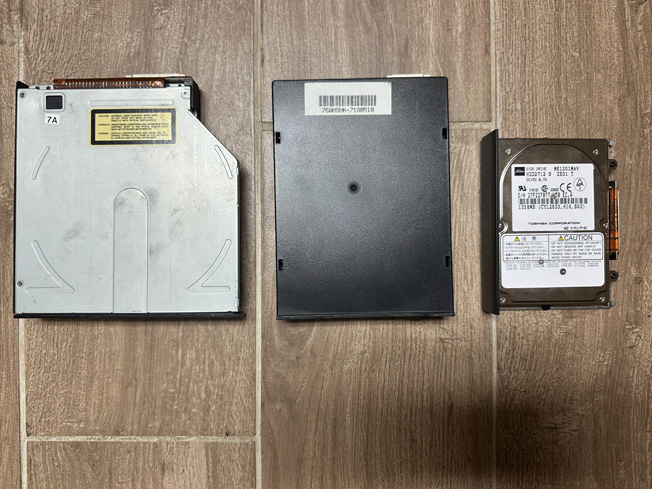
| Disk Drives | Dual Modular Bays - Left bay supports 3.5" 1.44MB Floppy Drive or a battery - Right bay supports 16 or 20X CD-ROM Drive or a battery |
|
| PC Cards | 2x PCMCIA Slots | |
| Networking | None built-in | |
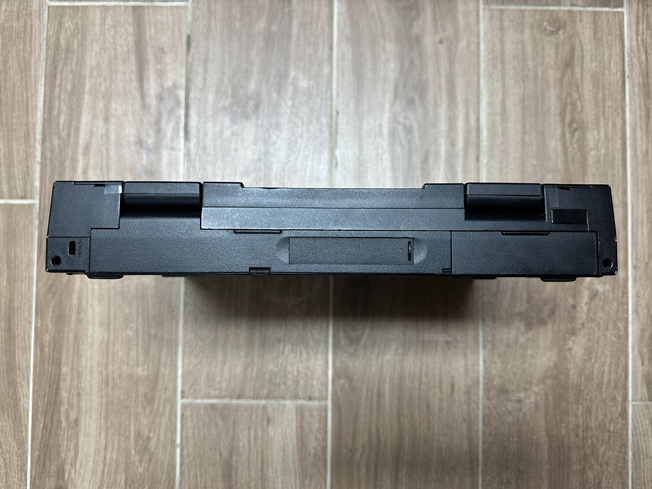
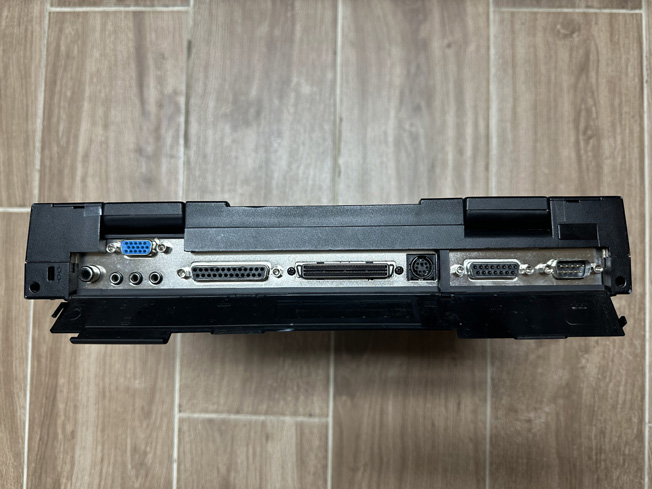
| Other I/O | - 1x Parallel - 1x Serial - 1x VGA Out - 1x Composite Out - 1x PS/2 - 1x Dock Connector - 1x Game Port - 1x Line In - 1x Mic In - 1x Line Out - Infrared |
|
| BIOS | Phoenix | |
| Pointing Device | Trackpad | |
| FCC ID | HLOIE01 | |
Resources
 Driver CD-ROM |
 Drivers (Alt) |
|---|
Common Faults & Maintenance
Hinge Failure
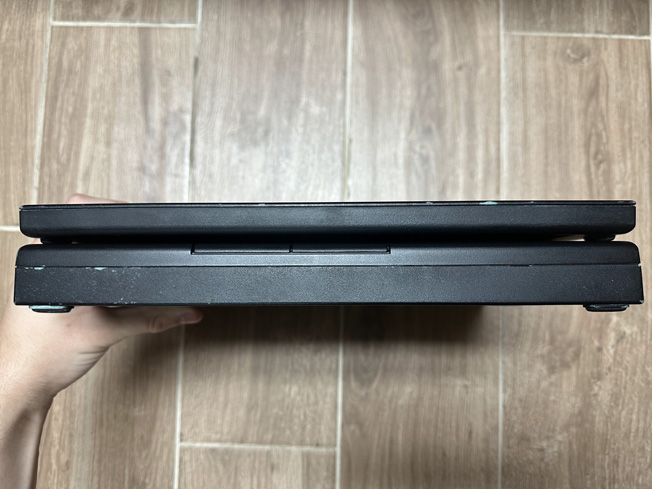
Nearly every 700-series EzBook I've seen show up on eBay has broken hinge mounts at the base of the laptop, cased by poor design and brittle plastic. These will need to be repaired or reinforced in any 700-series EzBook to keep the hinges working. When the base hinge mounts fail, the screen goes floppy and the hinges themselves will knock off the hinge covers, so most with broken hinges also have missing hinge covers. The display side mounts can also break, but the base mounts usually break first.
In order to fix the hinges, you'll have to add a large amount of epoxy around the hinge mounts on both the base and the display, in order to add support. You should also loosen the nuts on the hinges to a point where the display can just *barely* stay up. This will put the least amount of stress on the plastics, while also allowing you to use the hinge. When reinforcing around the base mounts, you'll have to fill in the two holes that allow the hinge covers to clip into place. You may be able to avoid this, but I didn't see a way to without compromising on structural support. In order to reinstall the hinge covers, you'll have to break the clips off, then hold them on by other means (such as hot glue or tape).
Other Notes
The CMOS battery is a standard VL1220 lithium battery, soldered down to the motherboard. These don't typically leak, but the EzBook 700 may need it to be working for the BIOS to work properly. One board I have that's missing the battery has RTC failure and CMOS RAM problems, and also fails to detect the proper CPU on boot. It may have actual board faults, but some of this could be a CMOS battery issue. My main working EzBook 700 has a battery that still works, so I can't test to see if it does the same thing unless I removed it.
The EzBook 700 CD-ROM drive appears to be somewhat unreliable, from anecdotal accounts. It was manufactured by TEAC. Mine will read discs (even burned ones), but is unreliable about it and will often struggle to read any discs. Mine probably has a weak laser. It is also not vibration-isolated, so the drive is very loud when spinning a disc.
The display cables may be prone to coming loose. If you have a garbled display, try reseating the LCD cables before assuming a bad screen.
Disassembly
Here are some general disassembly instructions for the EzBook 700. I may update will more specifics and pictures in the future.
To get the display apart, remove the two screw covers at each hinge, and remove each screw. Then, the rest of the housing is held together with clips. Some clips will likely break along the way.
Base
- (Optional) - Take apart the display housing first. You don't have to do this, but it makes it easier to handle the rest.
- Flip the two latches above the keyboard. Lift the keyboard up and fold it over the palmrest. Remove the three screws securing the heat sink in place, and remove it. Then, disconnect the keyboard ribbon and remove it.
- At this point, you will have access to the CPU and RAM should you want to upgrade either.
- On the base, remove the modular bay drives, and the hard drive caddy. Each are held in place with sliders and removal is toolless.
- Remove all visible screws on the base.
- Remove the center clutch cover above the keyboard. It is held down with clips on the front and the back. I was able to remove it without breaking any clips.
- Remove all visible screws that were under the keyboard and the center clutch cover.
- Disconnect all ribbon cables that are visible, including the trackpad cable (bottom left) and the various display and speaker cables (under the clutch cover).
- Carefully lift the palmrest/keyboard surround/top case assembly, starting from the back. Go slowly, especially if you have the display housing still attached, as there are a couple more connectors under the center clutch cover that won't be visible until you begin to lift the top case off.
- The top case is attached to the front of the bottom case with clips. You should be able to lever it off rather than using a pick to unclip them.
At this point, you will have access to the motherboard. If you'd like to remove the motherboard, here is how:
- Remove all the screw standoffs from all the ports at the back of the laptop, as well as the two screws on each side of the dock connector.
- Remove all visible screws and standoffs from the motherboard itself.
- Begin to lift the motherboard out, starting from the left side. The board will likely get caught on the right side on the PCMCIA eject levers, so you may have to push one or both in while you lift the board out.
The motherboard is in the form of a 3-layer sandwich. On top is the video board, followed by the CPU/RAM board, followed by the base motherboard at the bottom. The layers can be separted with a bit of force. Make sure that there are no screws or standoffs holding them together still.
Gallery
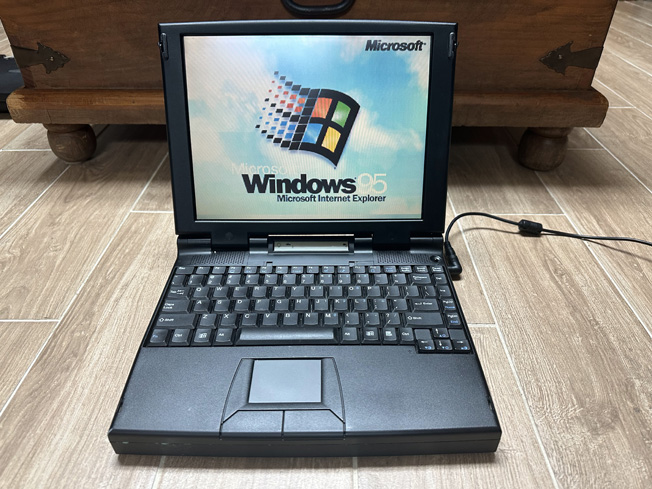
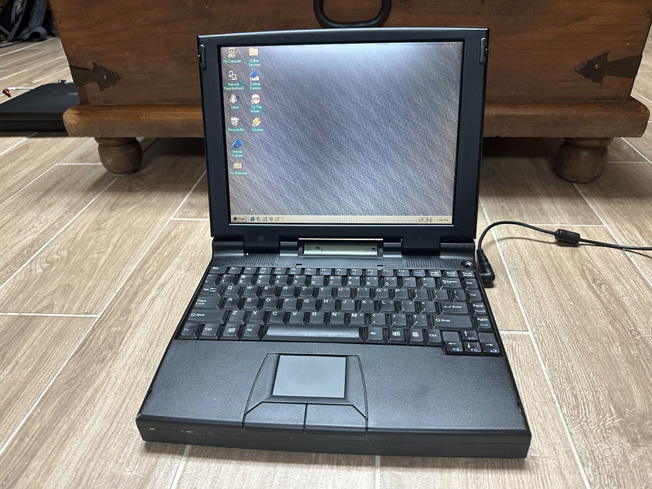
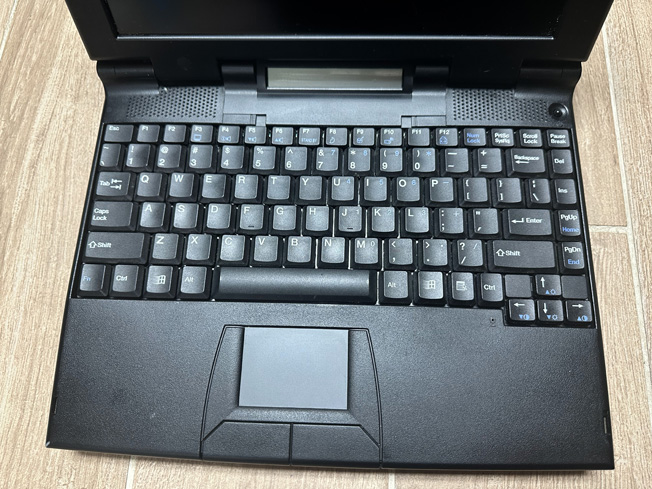
Click on an image below to view the full-size version.
Print Ads
Page last updated (MM/DD/YYYY): 09/14/2024
Update Reason: pages consolidated
Have additional information on this laptop? Want to send me photos to use on the site? Send me an email: macdatnet@gmail.com
Back-Navigation
Index < Laptop Portal < CTX < EzBook 700 & 700M