Alpha-Top Green751
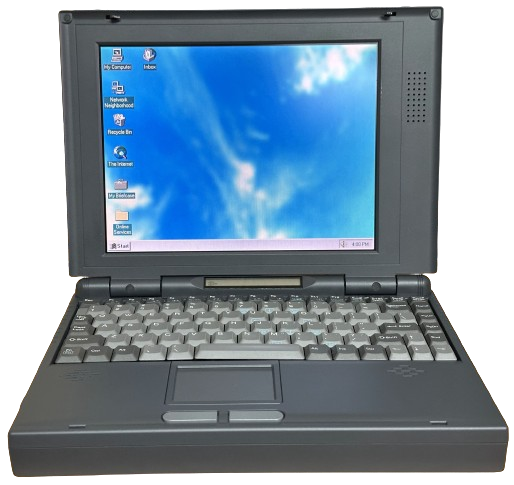
The Alpha-Top Green751 is a Pentium 1-based generic/ODM laptop that was released shortly after July 1995. The Green751 was Alpha-Top's first laptop. It was sold under the following brands/names:
- Maxtech Yesbook X-751 (USA)
- Trogon TG8100 (USA)
- Jetta Jetbook 6100 (USA)
- Ergo PowerBrick II (USA)
- HyperData (USA)
- APS Green X751 (USA)
- Medion Computer (Europe)
- MPC Technologies PentiNote/TouchNote 1000 Series (USA)
- Rover/Roverbook (Russia)
CPU Support
The G751 uses standard Socket 5 CPUs. It supports mobile Pentium chips running at 75, 90, or 100MHz, as well as desktop Pentium chips running at 75MHz, according to the addendum included in the G751's box. However, The Jetta Jetbook 6100, which is this same laptop, supports faster CPUs running at 120 and 133MHz, according to Jetta's archived website. See further down on this page for the config for the CPU speed switch-block, and information on CPU voltage.
RAM Support
The G751 unfortunately uses proprietary RAM. The motherboard has 8MB soldered, which isn't a whole lot for a Windows 95-era laptop. RAM upgrades are nearly impossible to find.
PSU
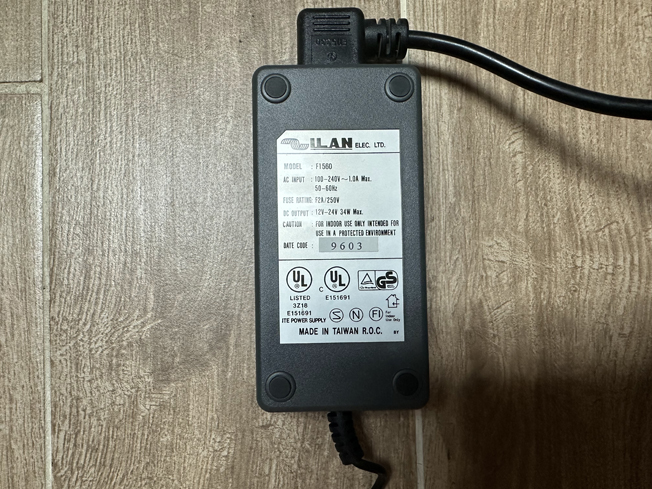
The G751 has a standard barrel jack on the back of the unit. It requires a center-positive supply that outputs 19V with at least 1.8 amps.
HDD Installation
The G751 does NOT use any sort of proprietary hard drive adapter. The motherboard just has the standard IDE connector on it, meaning that you can just install a drive in it loose. The G751 doesn't have a caddy either really - it instead uses a rail on each side that screws onto the drive.
Displays
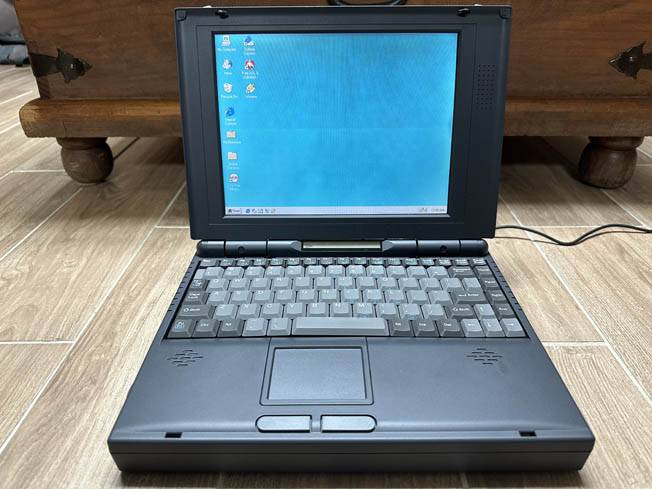
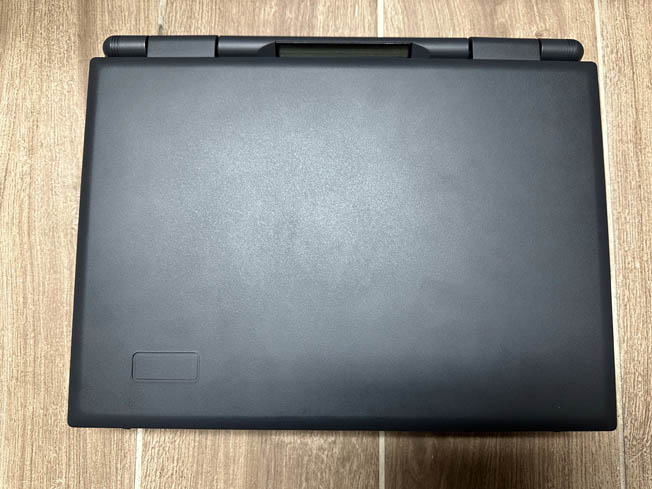
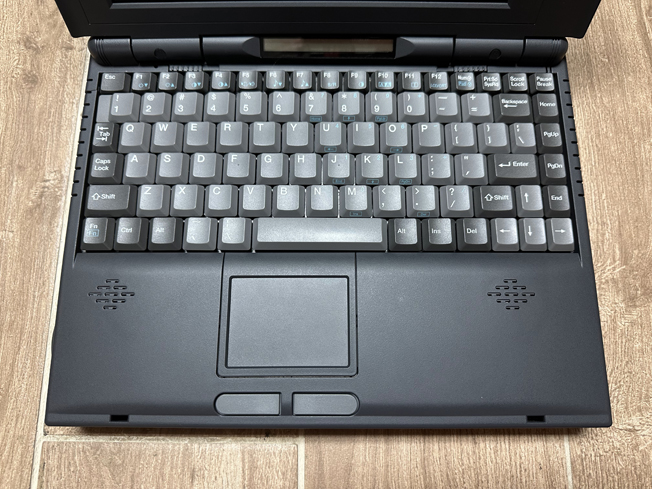
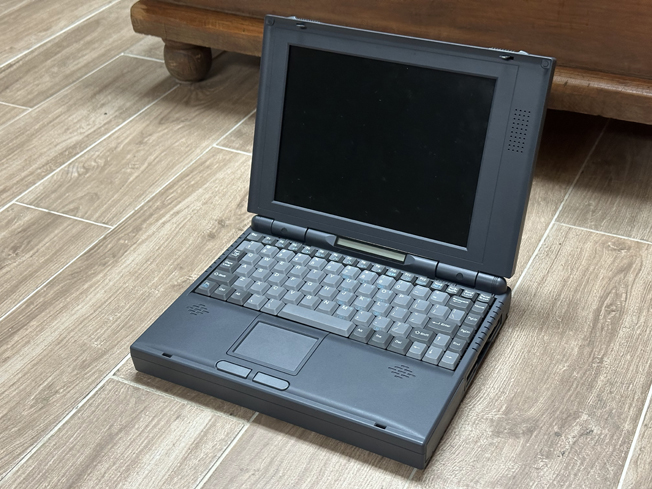
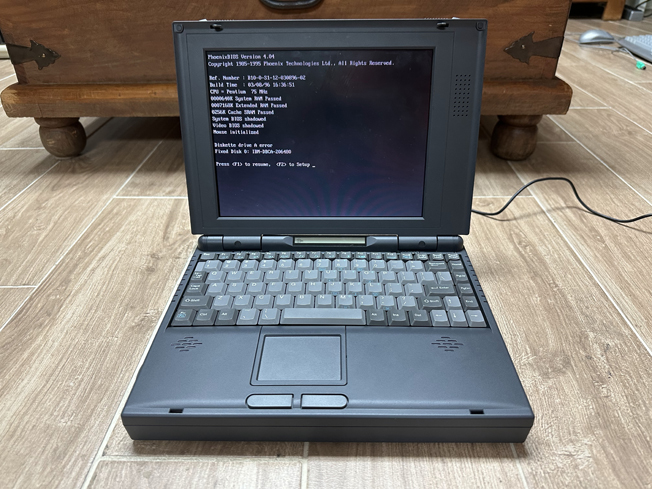
It is easy to tell if a Green751 has a passive matrix display or an active matrix display. Passive matrix models have the brand name badge at the bottom left of the display lid. Active matrix units have a thicker display lid and the badge is located in the bottom center (See photos below).
Specifications
| Spec | Details |
|---|---|
| CPU | CPU Type: Socket 5 - Intel Pentium @75, 90, 100, 120, or 133MHz |
| Chipset | ACC Micro 2056 |
| RAM | Type: Proprietary Standard: 8MB Soldered Maximum: 24MB |
| Storage | 2.5" IDE Requires Adapter: No Standard: N/A |
| Display Options | - 10.4" Passive Matrix Color @640x480 - 10.4" Passive Matrix Color @800x600 - 10.4" Active Matrix Color @640x480 |
| Graphics Chipset | Chips & Technologies 65548 VRAM: 1MB |
| Audio | ESS AudioDrive 1688 - Stereo Speakers - Microphone |
| Main Battery | NiMH (Smart w/ BMS) |
| CMOS Battery | Varta 3-cell NiMH (Soldered) |
| Power Supply | Barrel Jack - 19V 1.8A - Center Positive |
| Media Drives | 3.5" 1.44MB Floppy Drive - TEAC FD-05HG |
| PC Cards | 2x PCMCIA Slots (2x Type II/1x Type III) - Cirrus Logic Controller |
| Networking | None |
| Other I/O | - 1x Parallel - 1x Serial - 1x VGA Out - 1x PS/2 - 1x Dock Connector - 1x Mic In - 1x Line In - 1x Line Out - Infrared |
| BIOS | Phoenix |
| Pointing Device | - Trackpad (ALPS, Standard) - TrackPoint (Optional) |
Resources
 Drivers |
 Latest BIOS Update |
 User Manual |
|---|
Jumper Configs
CPU Speed Switch Block (SW3)
SW3 is located to the left of the CPU socket. When looking it is head-on, left is ON, right is OFF. Switch 1 is at the bottom and Switch 8 is at the top.
| Speed (MHz) | SW3-1 | SW3-2 | SW3-3 | SW3-4 | SW3-5 | SW3-6 | SW3-7 | SW3-8 |
|---|---|---|---|---|---|---|---|---|
| 75MHz | ON | ON | OFF | OFF | OFF | OFF | OFF | ON |
| 90MHz | OFF | OFF | OFF | OFF | OFF | OFF | OFF | ON |
| 100MHz | ON | ON | OFF | ON | OFF | OFF | OFF | ON |
| 120MHz | UNKNOWN | |||||||
| 133MHz | UNKNOWN | |||||||
Information on CPU Voltage
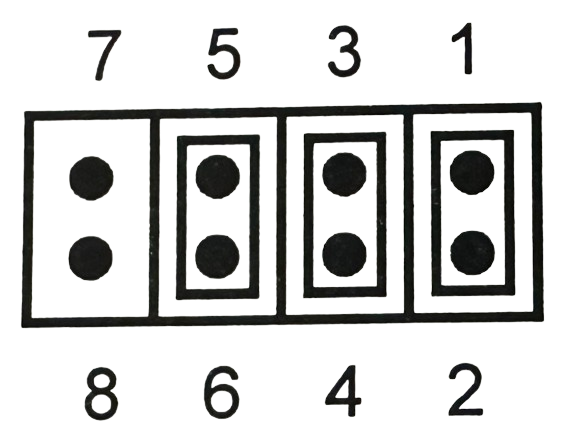
The Green751 laptop supports Mobile Pentium CPUs (P54LM) at 75, 90, or 100MHz, or a desktop Pentium CPU (P54C) running at 75MHz. Mobile Pentium CPUs run at 2.9 volts, while desktop ones run at 3.3V. Green751 laptops configured with Mobile Pentium CPUs include a daughterboard to the left of the CPU socket to downconvert 3.3V to 2.9. If your unit is missing this board, you likely have a desktop CPU and cannot install a mobile one without this board. If you do have the board installed, and would like to replace the Mobile Pentium with a desktop Pentium, it is necessary to remove the board and install three jumpers on the top connector that the 2.9V board attaches to.
The 2.9V board attaches to the motheboard via two connectors, labelled CN10 and CN11. After removing the board, install a jumper on the following pins of CN11, which is the upper connector.
Common Faults & Maintenance
CMOS Battery Leaks
The Green751's CMOS battery is a 3-cell VARTA that is soldered directly to the motherboard. It is located directly above the CPU socket. These batteries are highly prone to leaking in age, and should be removed in any Green751 to prevent damage. The leads are long enough that clipping the battery out is pretty easy, no de-soldering required. Removing this battery is EXTREMELY critical on any Green751, as just a very small leak can cause fatal damage to these, given the proximity of the battery to major components. Within a few more years, I'd expect that nearly every Green751 that hasn't had the battery pulled will be dead.
CMOS Battery Required
That being said, you're going to have to replace the CMOS battery for reliable operation. With the battery missing, the laptop will only start correctly on cold boots, and even this is inconsistent. On warm boots, it will fail to detect the CPU correctly (for example, showing ??? 20MHz instead of Pentium 75MHz), boot-loop in the BIOS, and even when booted the Real Time Clock will never work. Don't be like me (who replaced the RTC chip and two clock crystals) and just install a new battery.
Brittle Plastic
Like nearly ever 90s laptop, the plastic on the Green751 is quite brittle with age. As such, hinge-related failures aren't all that uncommon. To prevent this, remove the hinge covers (they just slide off with a bit of force) and then loosen the nuts on each hinge until the hinges are only just tight enough to hold the display lid up. This will drastically reduce the chances of plastic failure. One other problem I've noticed with my own examples is that the screws that mount the hinges to the LCD rear cover work their way loose over time, which will greatly increase the chance of plastic failure. If you notice any play in the hinges, tighten those screws. The hinge covers are also prone to falling off, and many examples in the wild will have these parts missing. If you have one, handle it with care.
Gallery
These photos were taken of my unit, which was assembled out of spare parts from a barely-used unit that was returned to Alpha-Top, I believe around 1998. The case parts are nearly pristine, with the exception of the missing battery and door, and the expansion port cover, which was transferred over from a used unit. The first set of photos shows this unit with a DSTN/Passive Matrix LCD. I later upgraded it to the TFT/Active Matrix display, which is shown in the second set of photos.
Click on a photo to view the full-size version.
Passive Matrix GREEN751.
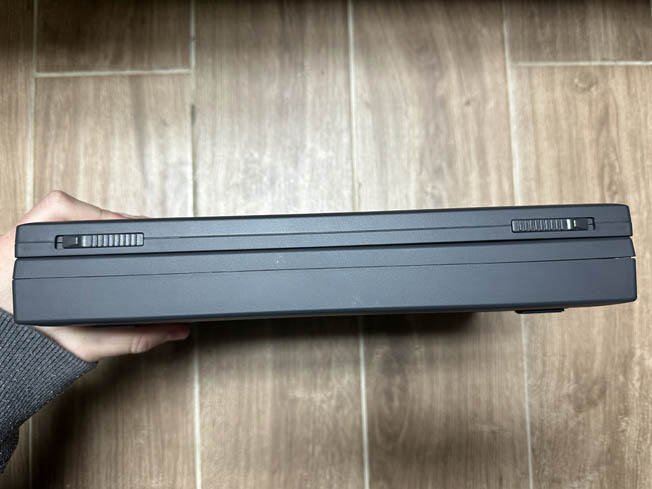
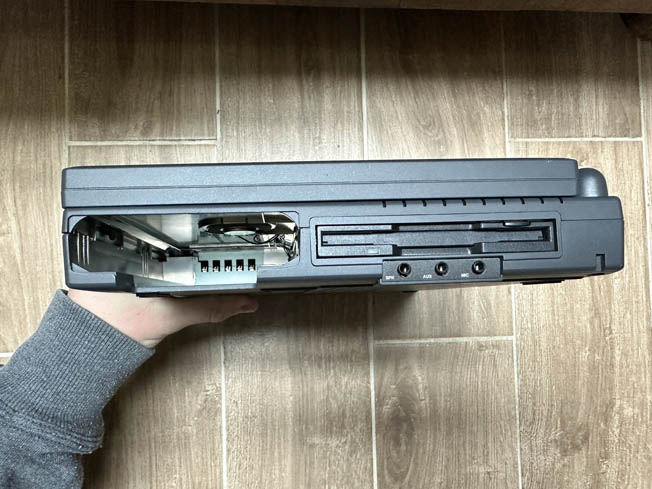
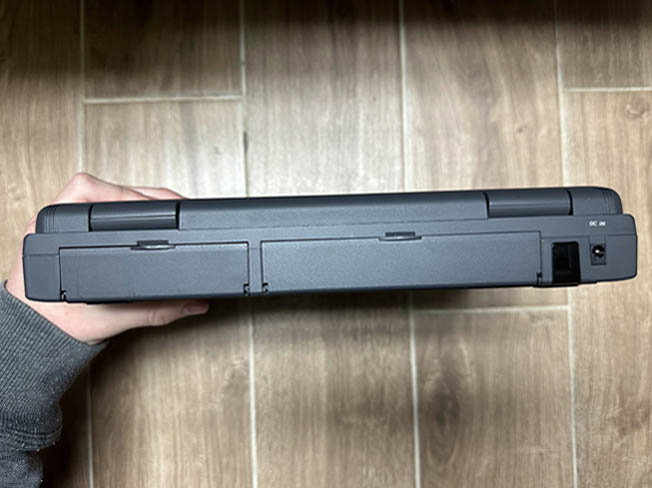
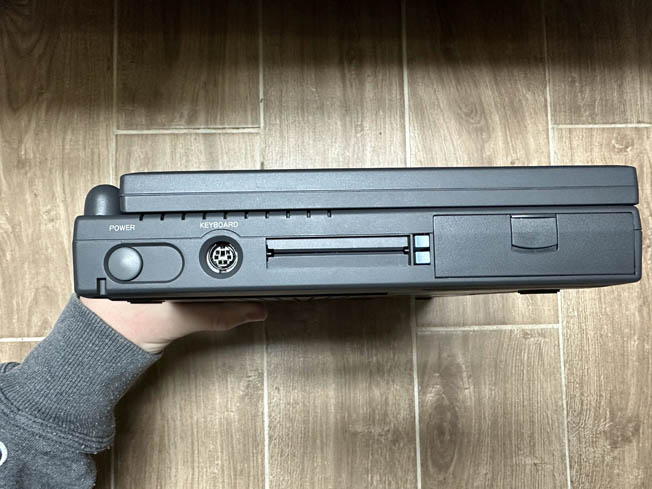
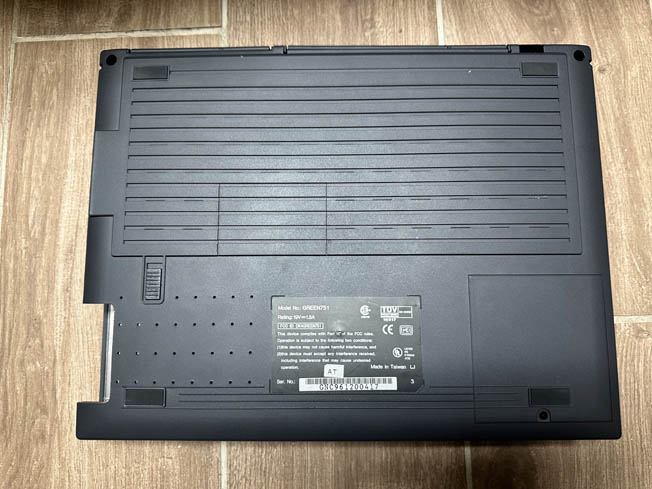
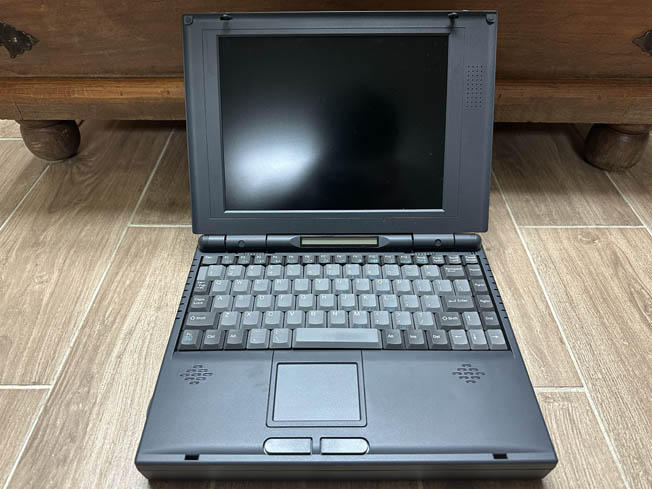
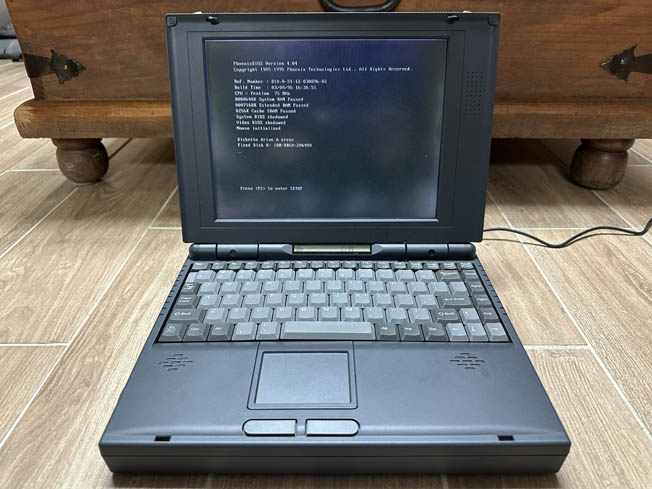
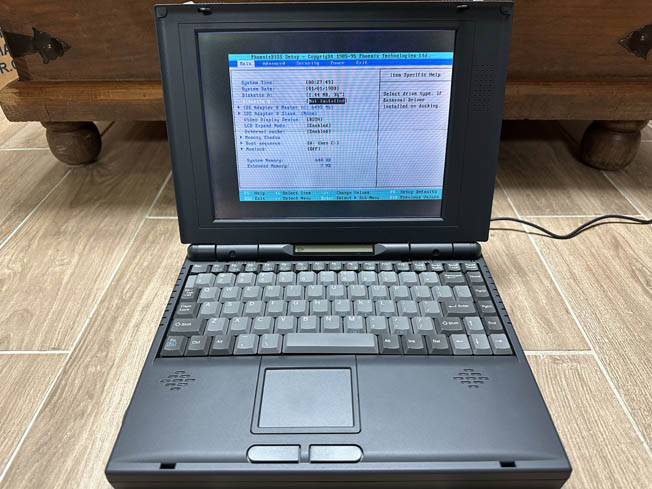
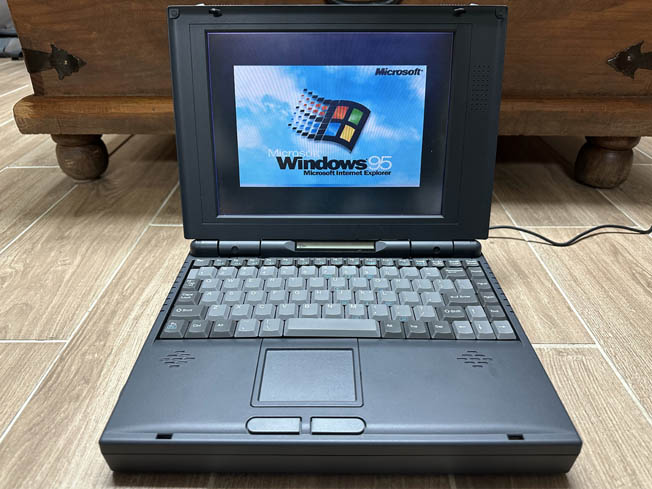
Active Matrix GREEN751.



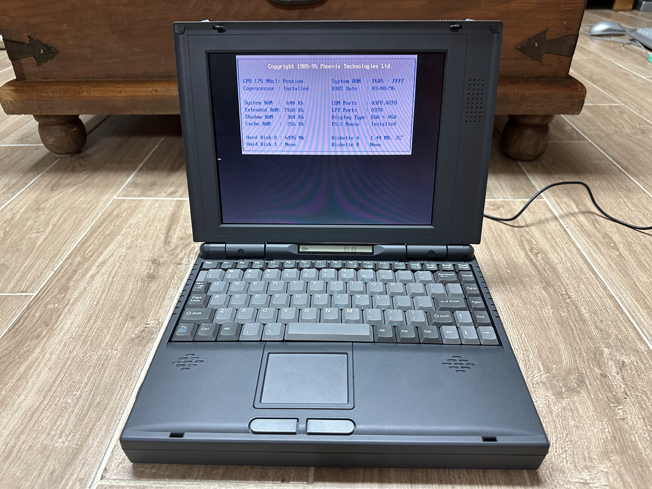
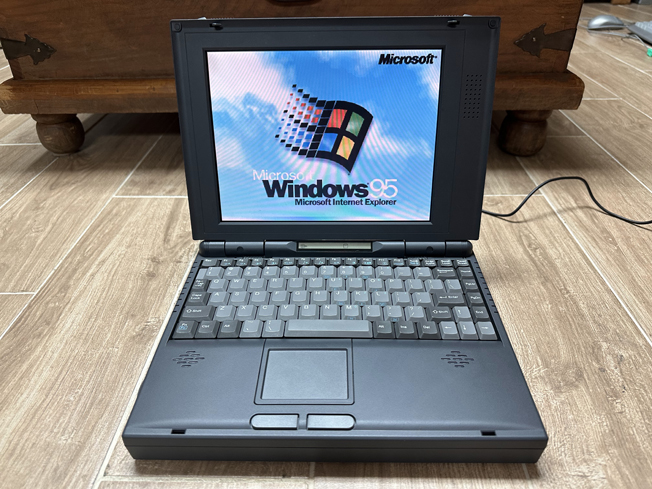
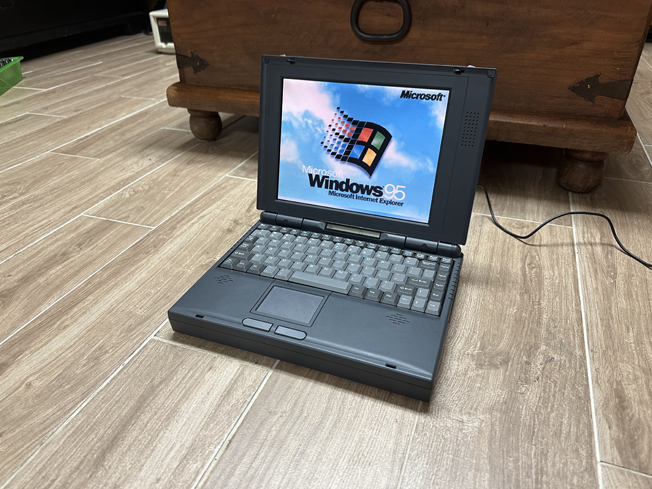
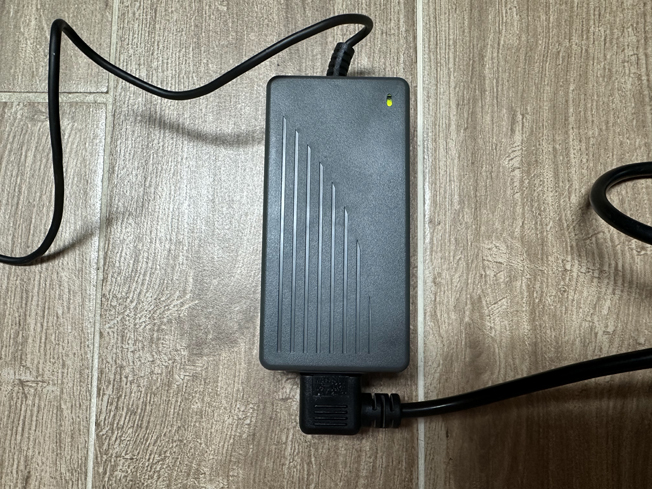
AC Adapter
Here are two photos of the AC Adapter that Alpha-Top shipped these laptops with.
HyperData Unit
Here's a few more images of a Green751, sold by Hyperdata. All they did to brand it was to stick a sticker on the top. That's it. They didn't even give it their own model number!
Images from DeltaDon on the VCF Forums


Fun fact: the motherboard and a couple other small parts from this one are now powering my pristine unit - I ended up buying this one along with a whole lot of other parts to build the one I have now.
Page last updated (MM/DD/YYYY): 12/21/2024
Update Reason: added user manual
Back-Navigation
Index < Laptop Portal < Alpha-Top < Green751